In the last decade, polyjacking concrete has evolved from a niche repair to the modern standard for lifting sunken slabs. Property owners love its speed, precision, and minimal mess compared with slurry‑based methods. Yet even a cutting‑edge process can fail if installation discipline slips. This guide outlines the most frequent errors teams make and how to eliminate them with professional, field‑tested practices, so your project performs the way it should for years.
What Exactly Is the Method?
Polyjacking in Plain English
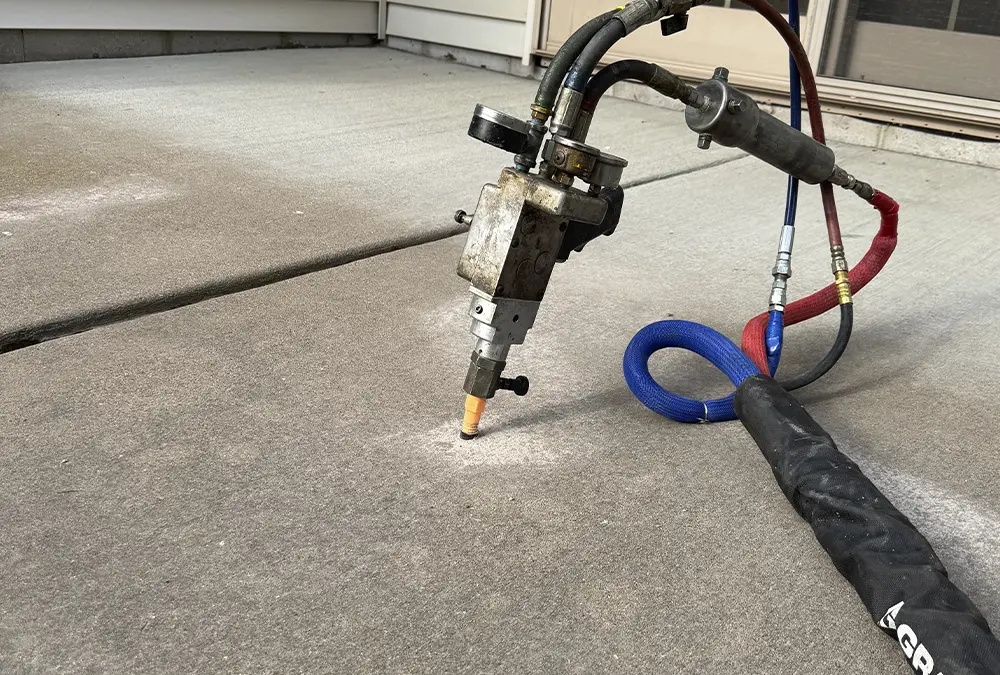
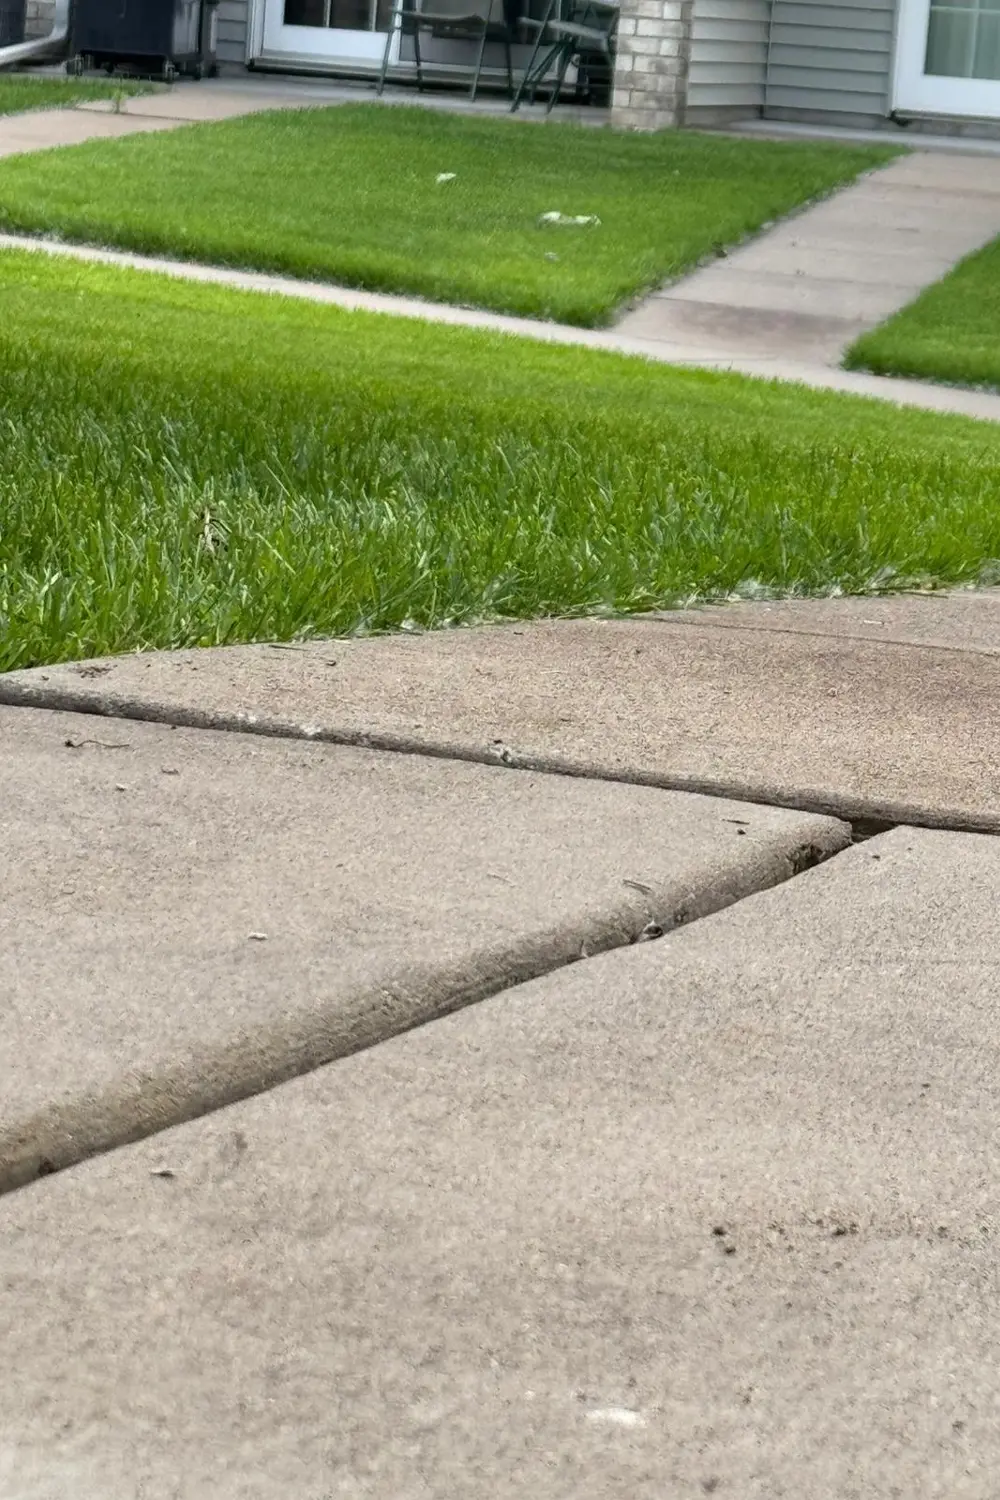
At its core, polyjacking concrete injects expanding polyurethane beneath a slab to fill voids and restore elevation. The foam’s predictable expansion enables millimeter‑level control, making it ideal for driveways, garage floors, sidewalks, and interior slabs where precision and cleanliness are non‑negotiable.
Why Not Just Use Mudjacking?
Mudjacking relies on pumping a heavy mixture of soil, sand, and cement under pressure. It works, but the material can add thousands of pounds to weak subgrade and may wash out over time. Smaller ports, lighter material, and faster return‑to‑service make foam the superior choice for most residential scenarios.
When the Two Methods Coexist
There are limited cases like massive subgrade voids in industrial yards, where slurry volume matters. For homes, polyjacking concrete typically delivers better accuracy and longevity with far less disruption to landscaping and finishes.
Top Installation Mistakes (and How Pros Avoid Them)
1) Skipping a Root‑Cause Diagnosis
Lifting a slab without asking why it settled invites repeat problems. Before the first port is drilled, evaluate drainage, downspouts, grading, irrigation cycles, and nearby tree roots. Correcting these issues is part of responsible Concrete Installation and prevents new voids from forming.
2) Using the Wrong Foam for the Load
Not all polyurethane is equal. Garage aprons and RV pads demand high‑density formulations. Sidewalks near lawns may benefit from moisture‑tolerant blends. Specifying product to expected loads is the difference between a lasting polyjacking concrete lift and a callback.
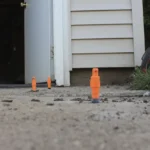
3) Poor Port Layout and Spacing
Random hole placement leads to uneven lift and trapped voids. Pros pre‑map a grid, test inject to confirm soil response, and sequence lifts to avoid slab rocking. A disciplined layout is foundational to Concrete Installation quality.
4) Rushing the Lift Sequence
Over‑injecting before the previous shot fully reacts can overshoot elevations or create hard spots. Controlled, incremental injections let polyjacking concrete rise predictably, protecting door thresholds and slab transitions.
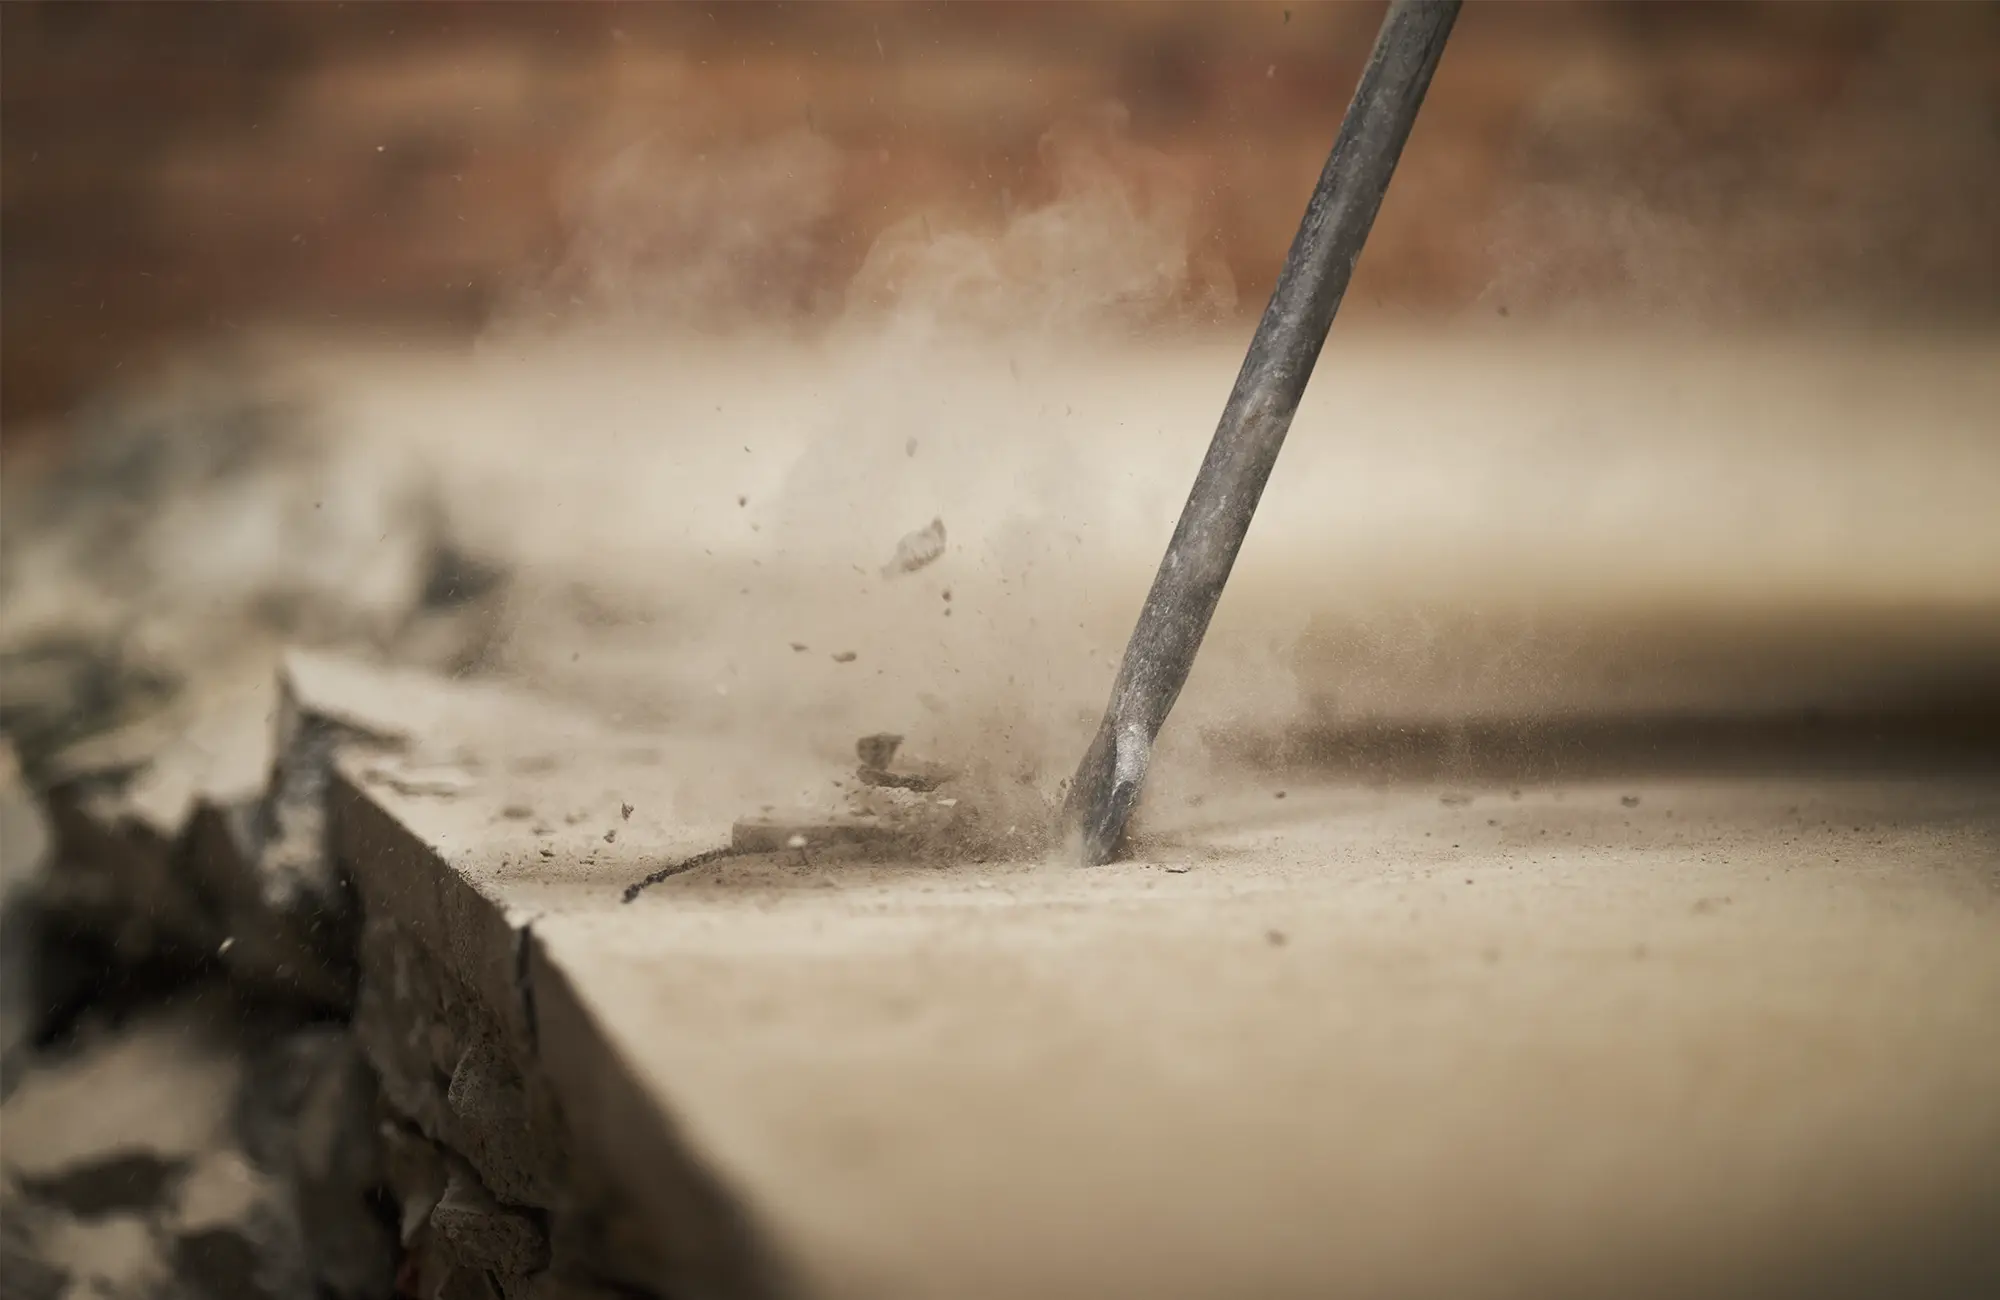
5) Inadequate Surface Prep
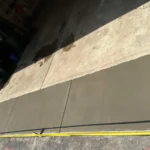
Dust, oils, and loose aggregate around ports compromise adhesion and patching. Clean edges, vacuum thoroughly, and use the correct patch material so the finished Concrete Installation looks seamless.
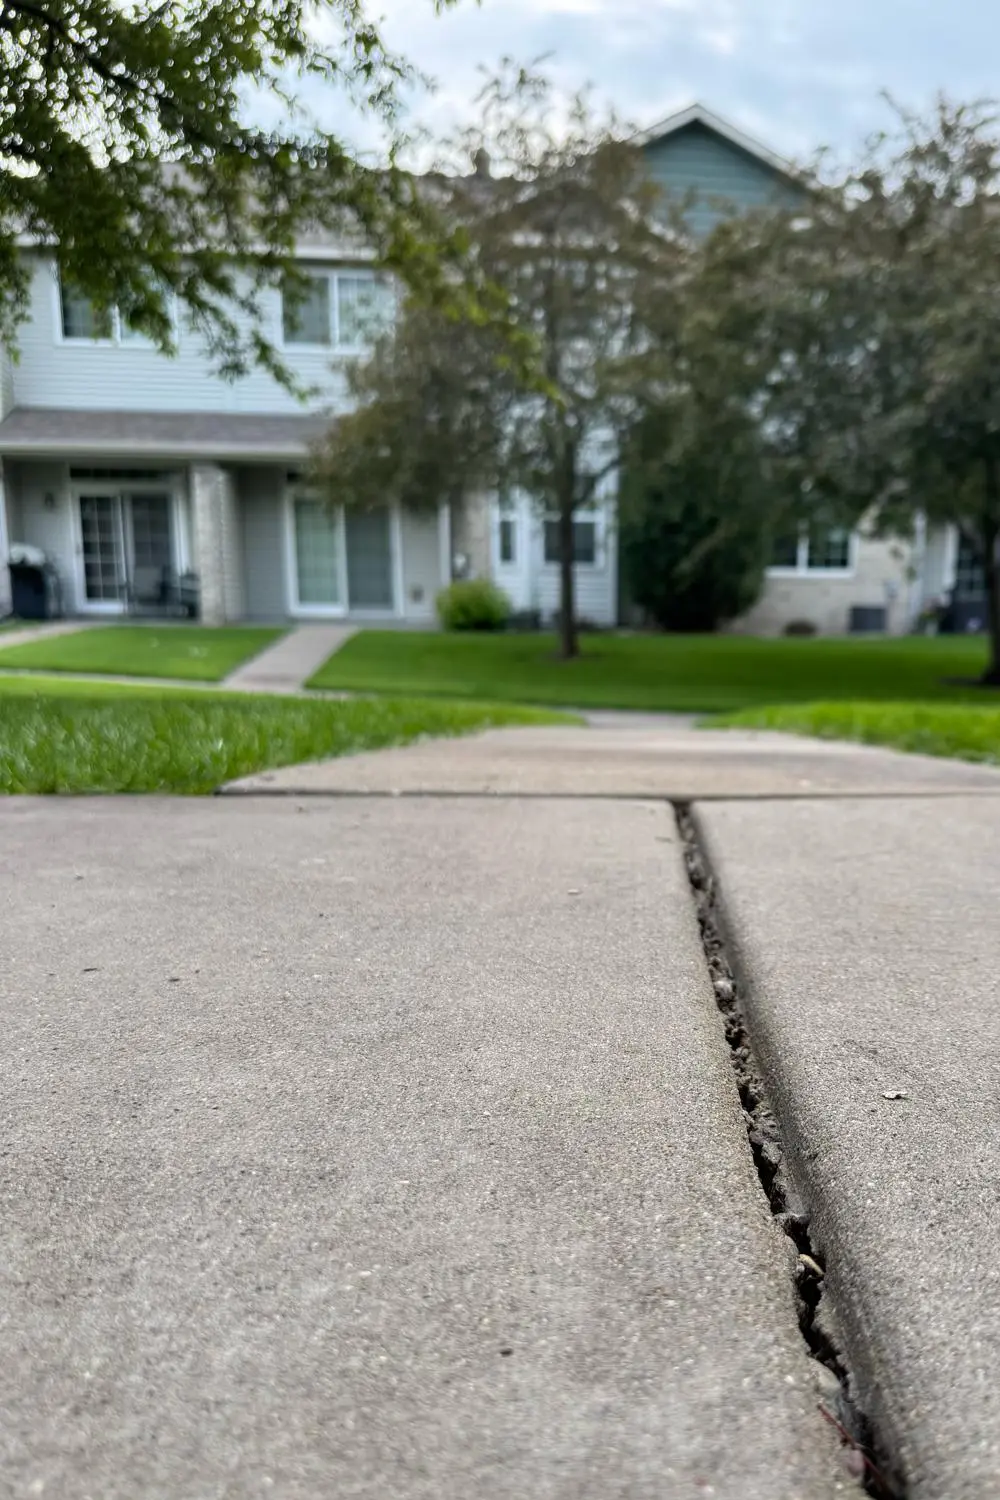
6) Skipping Joint and Crack Sealing After the Lift
Foam solves the void; sealing solves the water. Unsealed joints invite moisture, freeze‑thaw cycles, and soil pumping. Paired with polyjacking concrete, high‑quality sealants lock in the win you just earned.
7) Ignoring Safety and Utilities
Mark utilities, control traffic, and protect adjacent finishes. A well‑staged site protects crews and clients and is a hallmark of professional Concrete Installation.
8) Forgetting the Follow‑Up Plan
Great contractors schedule a post‑season check, especially in Minnesota to verify elevations, sealant performance, and drainage. Proactive care keeps polyjacking concrete results stable through harsh winters.
A Best‑Practice Workflow You Can Trust
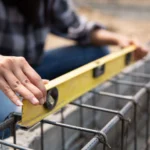
Step 1. Assessment & Moisture Reading
Document slab offsets, void estimates, gutter discharge, and soil moisture. This informs the lift plan and any drainage adjustments tied to Concrete Installation scope.
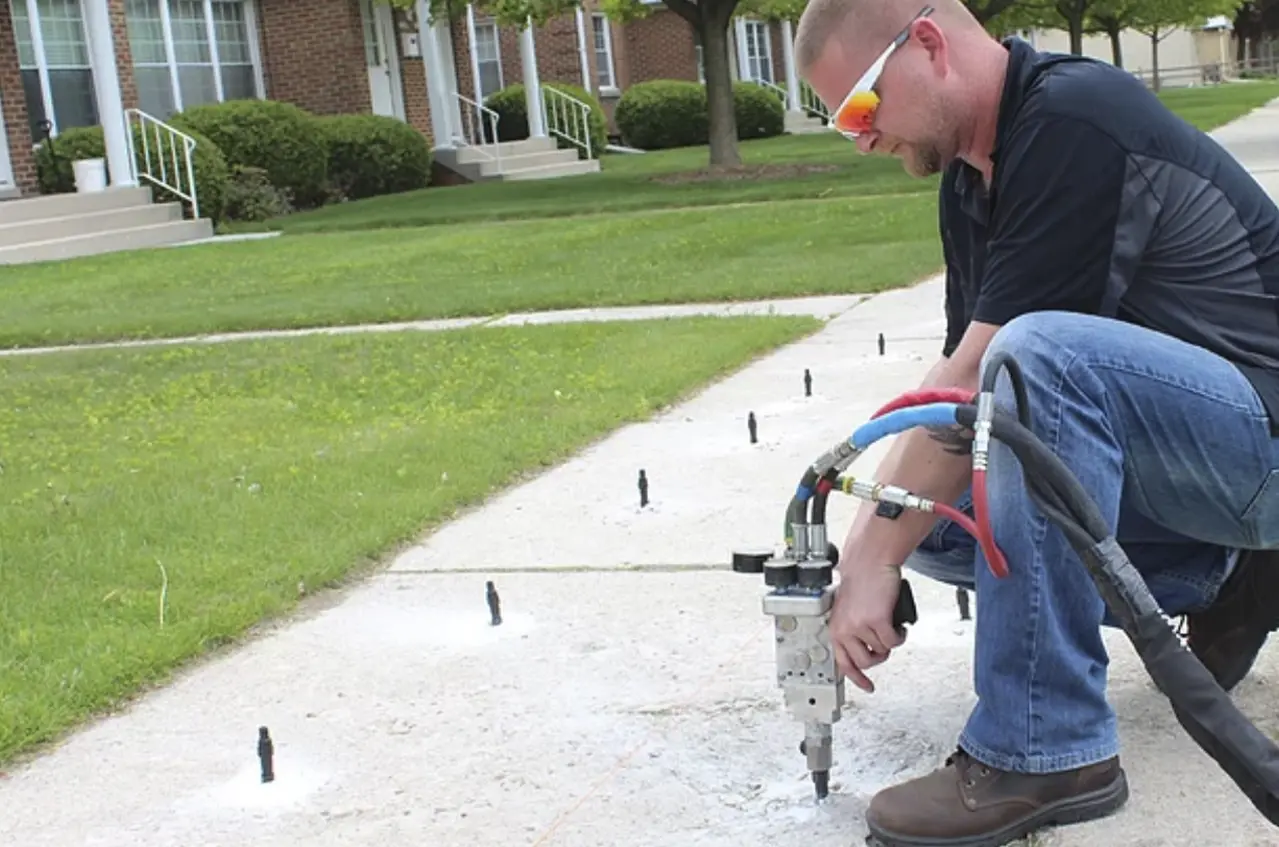
Step 2. Grid Design & Port Drilling
Lay out a strategic port grid that considers slab thickness, control joints, and load paths. Correct port spacing is critical for uniform polyjacking concrete performance.
Step 3. Incremental Injection & Monitoring
Inject in controlled pulses, monitor deflection with lasers, and pause between shots. This is where the predictability of polyjacking concrete shine, micro‑adjustments create smooth transitions.
Step 4. Finish, Patch, and Seal
Flush ports, patch neatly, and seal joints to keep water out. Clean tooling and tidy edges separate a good job from a great Concrete Installation.
Step 5. Client Walkthrough & Care Plan
Review before‑and‑after elevations, show patch locations, and confirm maintenance (sealing intervals, downspout extensions). Put everything in writing so results last.
Performance That Sticks
Load‑Bearing Strength
High‑density foam supports vehicle and equipment loads without adding significant weight to compromised soils. This is a core reason polyjacking concrete maintains elevation where slurry might sink again.
Freeze‑Thaw Resilience
Foam is closed‑cell and resists water intrusion. In Minnesota’s climate, this drastically reduces pumping and winter heave an essential complement to good Concrete Installation practices.
Minimal Downtime
Most residential lifts return to service in under an hour. That speed matters for busy garages and commercial entries where access is mission‑critical.

Cost, Time, and Lifecycle ROI
Direct vs. Indirect Costs
Direct material may be higher than slurry, but indirect savings add up: fewer callbacks, no landscape restoration, and near‑zero cleanup. Well‑executed polyjacking concrete routinely beats replacement by 50–70%.
Project Duration
Crews can lift, seal, and reopen a typical two‑car driveway the same morning, no multi‑day shutdowns, lanes closed, or heavy equipment staging common with replacement Concrete Installation.
Long‑Term Value
With proper sealing and drainage, foam lifts stay put. Over five years, maintenance spending is typically a fraction of demo‑and‑repour projects.
Minnesota Climate Considerations
Drainage and Grade Matter
Direct roof runoff away from slabs and correct negative grade. Good water management preserves polyjacking concrete results and keeps soils from softening.
Seasonal Timing
Late spring through early fall offers the most predictable subgrade conditions for precision lifting, sanding, and sealing as part of resilient Concrete Installation.
Quality Checklist Before You Hire
Credentials & Insurance
Ask for license, proof of insurance, and local references. True pros are proud to share documentation.
Materials & Specs
Request the exact foam specification sheet (density, cure time, moisture tolerance). The right spec ensures polyjacking concrete performance under your real‑world loads.
Warranty & Aftercare
Look for a written elevation warranty and a maintenance schedule that includes sealing and drainage guidance tied to Concrete Installation best practices.
Communication & Photos
Insist on before‑after measurements and photo documentation. Transparency is the backbone of quality control.
When the Method Isn’t the Best Fit
Severe Frost Heave or Heaving Clay
If the soil itself is expanding and pushing slabs up, lifting is not corrective. Address subgrade and drainage first; then revisit polyjacking concrete.
Structural Fracture Through Thickness
If a slab is fractured full‑depth with differential movement, replacement may be safer than lift.
Active Washouts or Utility Leaks
Solve water sources and stabilize subgrade before you attempt any Concrete Installation lift strategy.
Bring It All Together
Smart planning, disciplined execution, and post‑project care are what separate a short‑term patch from a long‑term fix. For homeowners who want a clean look and a stable, even surface without demolition, polyjacking concrete is a remarkably effective choice.
For new pours or integrated repairs, partner with a team that treats drainage and sealing as part of the scope, not an afterthought. That’s the mindset behind high‑performing Concrete Installation on every project.}
Ready to level up your slab without the mess? Contact Us Today to schedule a fast assessment and get a tailored plan for your property.