Everything You Need to Know Before Starting the Job
Uneven concrete floors are more than just a visual problem — they can lead to structural issues, flooring installation failures, and water drainage complications. Whether you’re preparing for tile, hardwood, vinyl, or epoxy, knowing how to level a concrete floor is essential.
This guide walks you through the entire process, including materials, preparation, and professional tips to ensure lasting results.
Tools and Materials Needed to Level a Concrete Floor
Before getting started, gather the following:
-
Leveling compound or self-leveling concrete
-
Primer for concrete surfaces
-
Trowel or gauge rake
-
Concrete grinder or sander (for high spots)
-
Vacuum or shop vac
-
Mixing bucket and paddle
-
Protective gear (gloves, goggles, mask)
Optional but useful tools:
-
Long straightedge or screed
-
Moisture meter
-
Knee pads
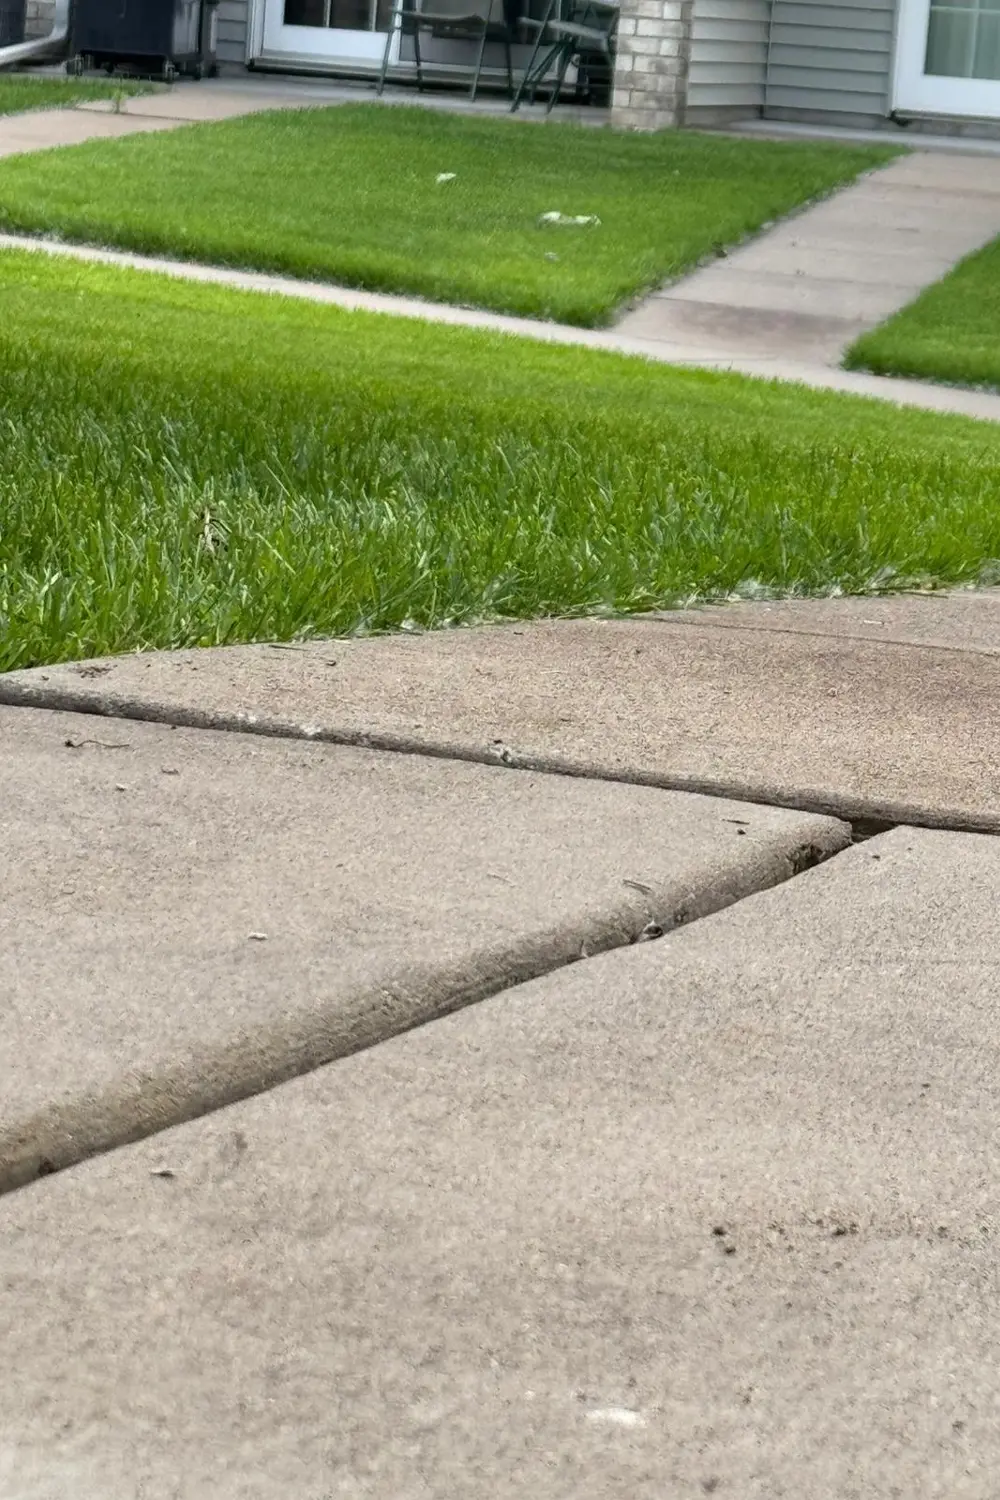
Step 1: Evaluate the Floor for High and Low Spots
Use a straightedge or laser level to identify problem areas
Start by checking the entire floor using a 6–10 foot straightedge, laser level, or digital level. Move across the floor and mark areas that dip below or rise above the desired flatness. Most manufacturers allow a maximum variation of 1/8 inch over 10 feet for flooring installation.
If high spots are minimal, you might be able to grind them down. For larger dips or widespread unevenness, self-leveling compound is the most efficient solution.
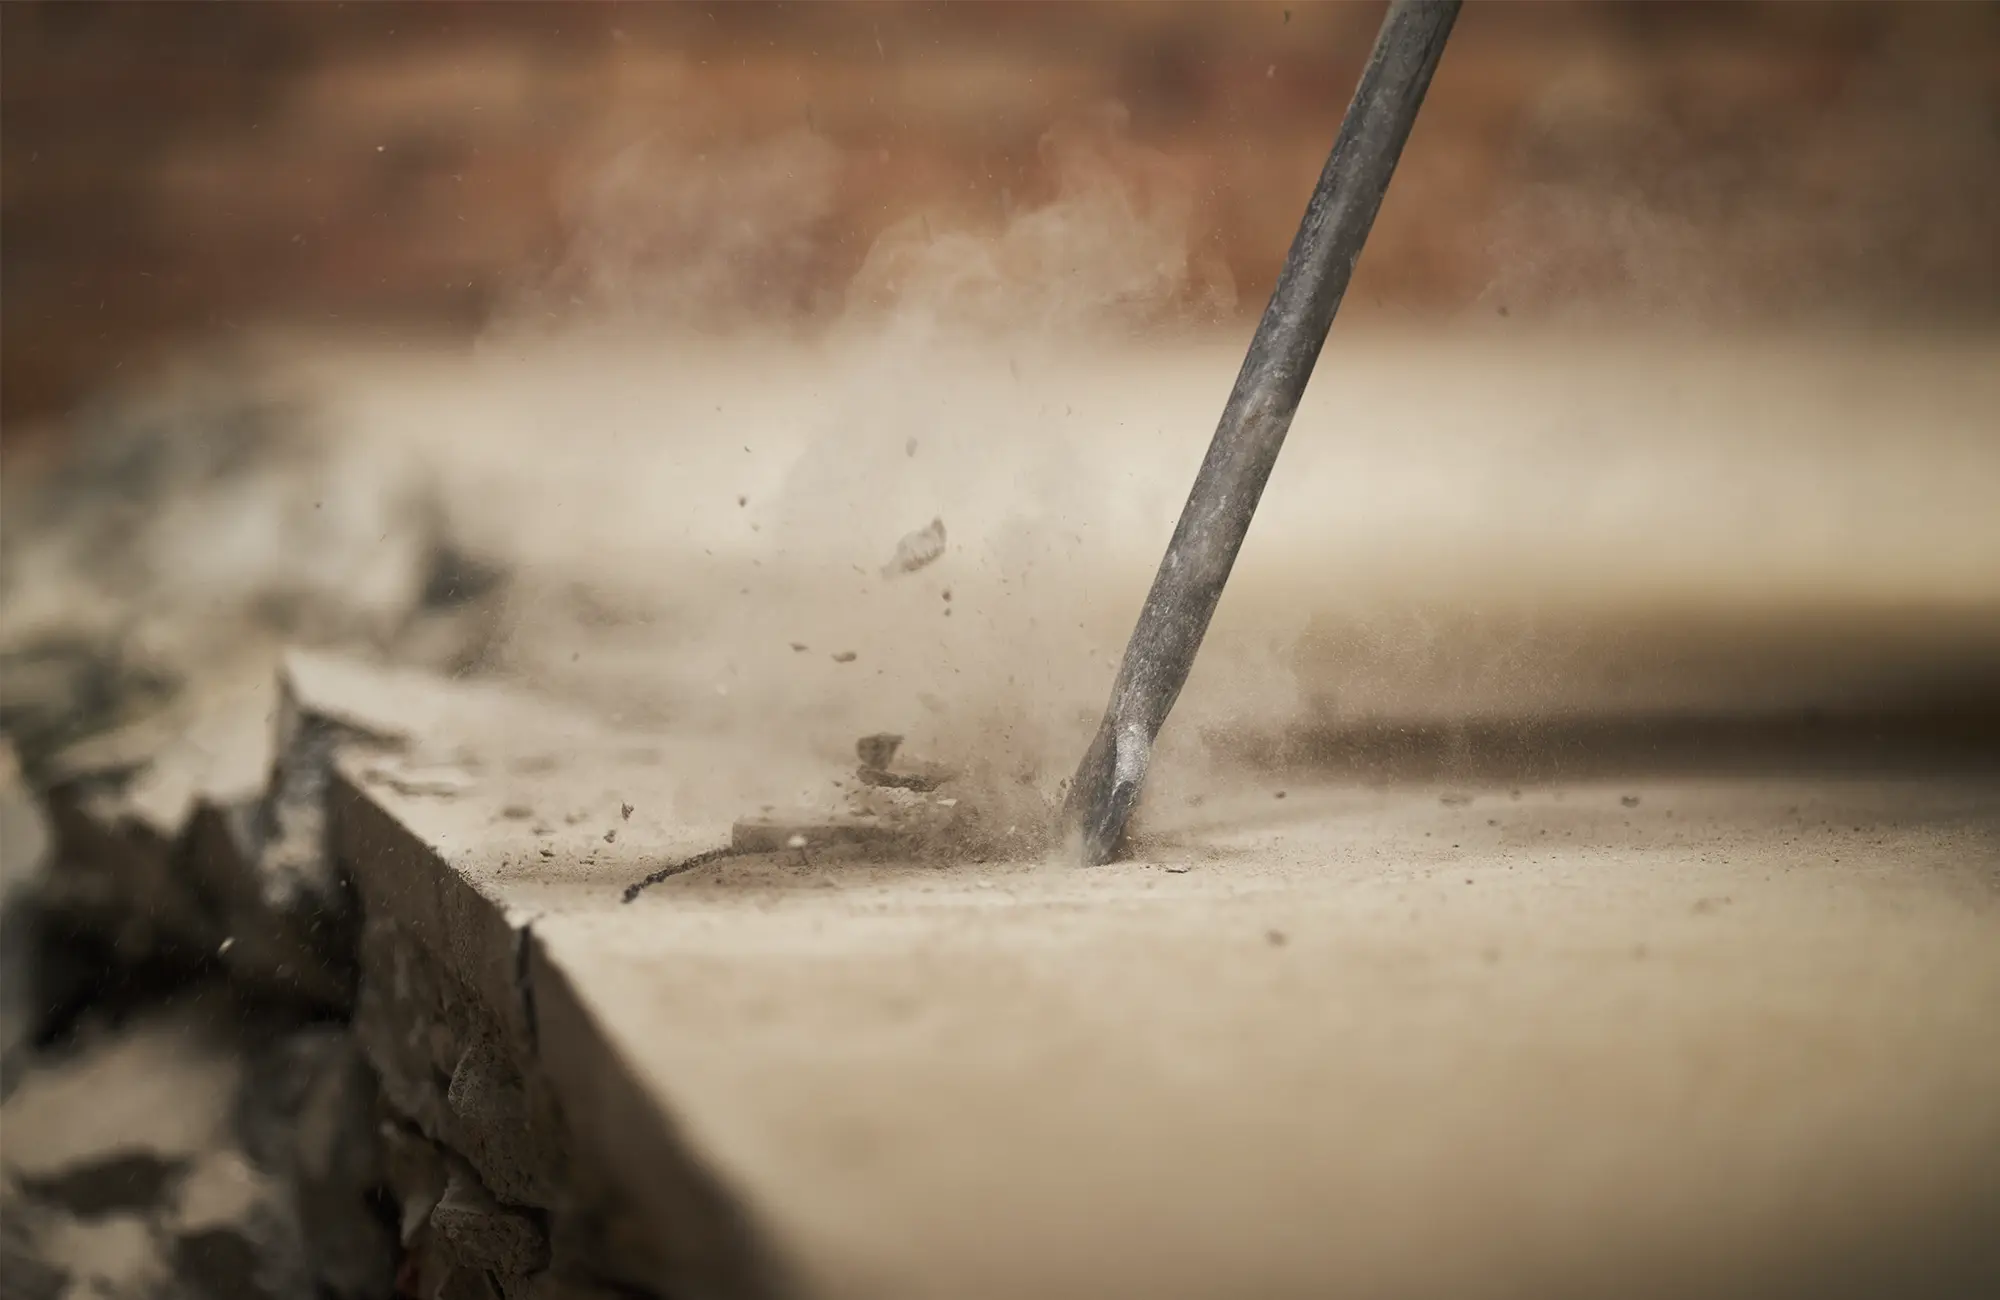
Step 2: Clean and Prep the Surface Thoroughly
Remove dust, debris, oils, and old adhesives
A clean surface is essential for proper adhesion. Use a shop vac to remove all dust and particles. For greasy or waxy residues, apply a degreaser and rinse thoroughly. If there’s old glue, paint, or sealant, remove it with a concrete grinder or stripper.
Important: If your concrete has any cracks or control joints, seal them with concrete filler before continuing.
Step 3: Apply Primer to Help the Leveling Compound Bond
Priming improves adhesion and prevents rapid absorption
Use a floor primer designed for concrete and apply it according to the manufacturer’s instructions. Most primers need to dry for a minimum of 1 to 3 hours. Don’t skip this step — it ensures that the self-leveling compound sticks evenly and reduces the chance of future cracks or bubbles.
Step 4: Mix the Self-Leveling Compound Properly
Follow mixing instructions precisely to get the right consistency
Use a large mixing bucket and a drill-mounted paddle mixer to combine the compound with water. Most self-leveling products must be poured immediately after mixing, so work quickly and in sections.
Do not over-mix or under-mix. The ideal texture is a pourable consistency that can spread easily but won’t separate or set too fast.
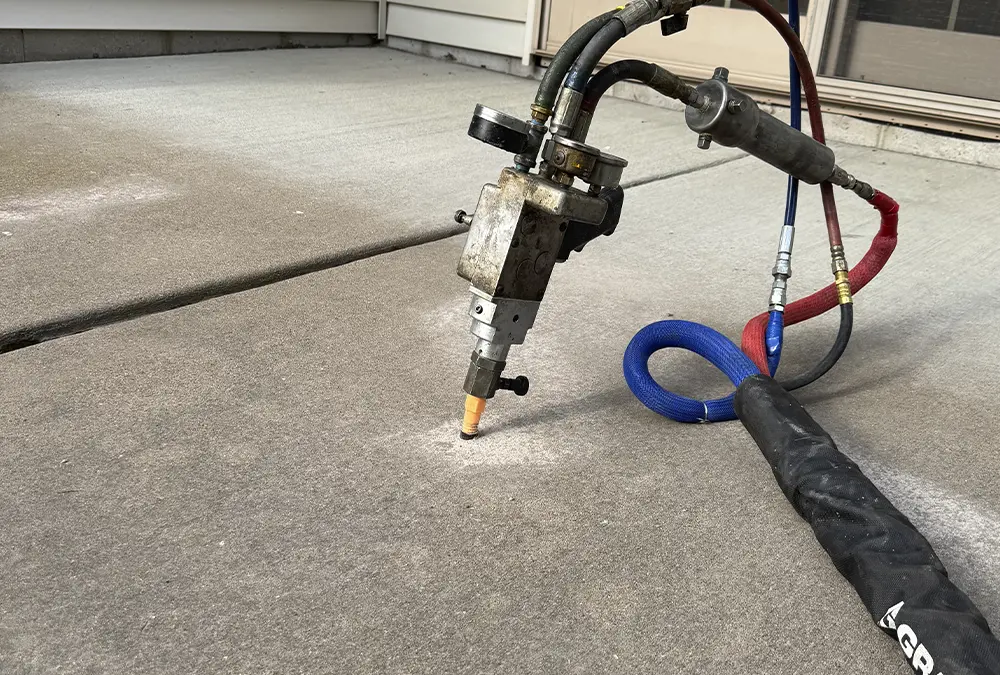
Step 5: Pour and Spread the Compound Evenly
Work in sections and move fast — the compound sets quickly
Pour the leveling compound starting from the lowest point and use a gauge rake or trowel to spread it evenly. Let gravity do much of the work, but assist where necessary to ensure smooth coverage.
For large areas, consider asking a second person to help with mixing while you pour. Keep foot traffic off the floor until it’s fully cured — usually 24 to 48 hours, depending on the product and environment.
Step 6: Sand Down Any Minor Imperfections
After curing, sand lightly for a flawless finish
Once the surface is dry and hard, inspect for minor ridges or trowel lines. Use a concrete sanding pad or pole sander to smooth any rough spots.
Now your concrete floor is flat, smooth, and ready for any type of final flooring — whether tile, vinyl planks, carpet, or epoxy.
Common Mistakes to Avoid When Leveling Concrete
-
Skipping the primer leads to poor adhesion.
-
Not addressing moisture can cause the compound to delaminate.
-
Over-watering the mix weakens the compound and creates shrinkage.
-
Pouring without planning work in logical sections to avoid cold joints.
-
Ignoring room temperature cold slows curing; heat speeds it up too fast.